Building the Prusa MK4S
Buying a 3D printer had been on my mind for some time. The choice for the Prusa MK4S was driven by a couple of factors.
- A printer designed and built in Europe is strongly preferred.
- PrusaSlicer is free software is and available as a package for my operating system of choice (FreeBSD).
As a mechanically inclined person, the choice for the self-build kit was a no-brainer. It’s like Lego for adults. :-)
Build
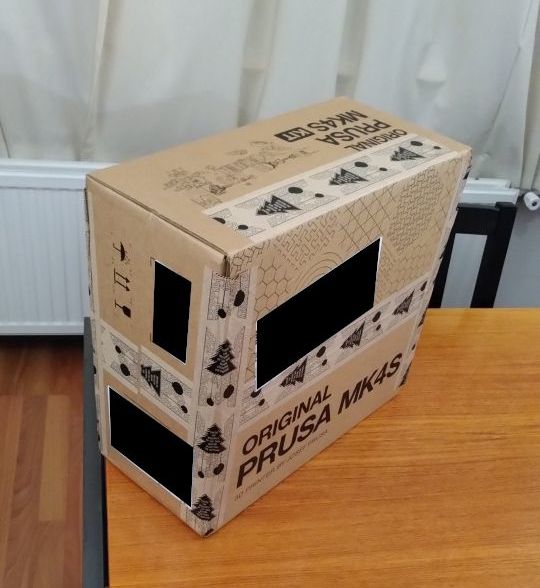
The kit arrived extremely well packaged.
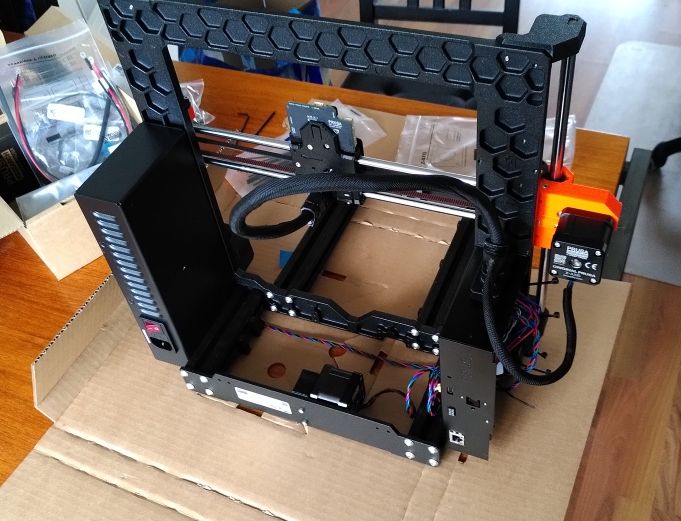
All the parts are well organised and clearly labelled. Fit and finish of the parts is also very good.
The instructions are very clear, with high resolution images if you want to zoom in for a closer look.
Given that a lot of the parts are black, good lighting is important. At some points I had to use an LED torch since a lot of the parts are black.
Prusa has really exploited the capabilities of the 3D printing process in the 3D printed parts. Some of those parts would be impossible (or prohibitively expensive) to make with e.g. injection moulding.
Most of the fasteners are M3. If you have large hands and stubby fingers like me, those and some of the small parts can be a challenge. Fitting the small antenna cable for the NFC antenna was probably the most annoying part for me. Some cable bundles are wrapped as shown below. That I found to be a fiddly process.
Having my hands full, I did not take all many pictures during the process. Look in the instructions on the Prusa website it you want to see it in detail.
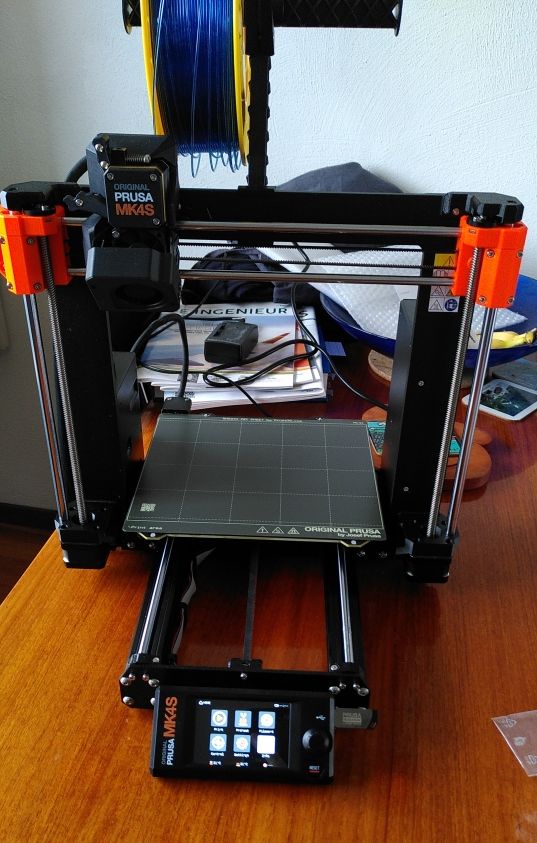
All in all, it is a very doable build and I quite enjoyed it.
For comments, please send me an e-mail.