First print on a Prusa MK4S
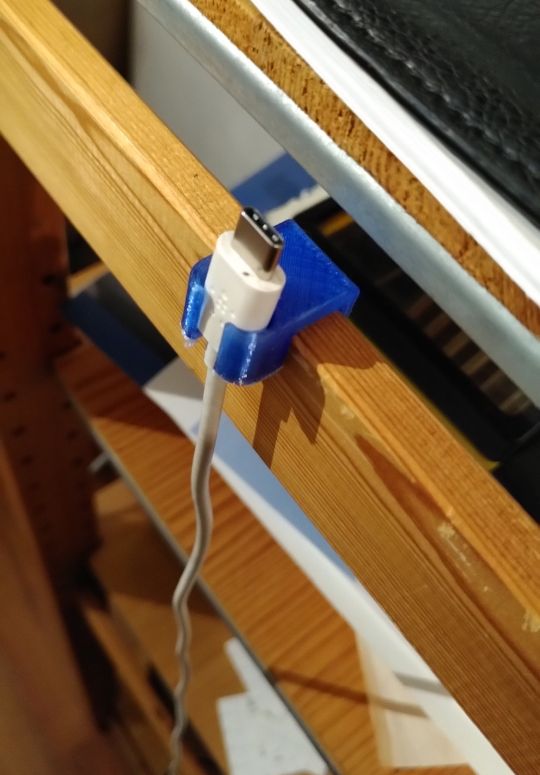
My first print was a holder for a USB cable that I use to charge my cellphone.
After measuring the connector using a Vernier caliper, I designed the holder in FreeCAD 1.0.
Having used CAD software like AutoCAD, Unigraphics NX and Creo Parametric professionally, I’m quite happy with FreeCAD especially now that 1.0 is out. Compared to Creo, it is less rigid. The workflow in the “Part Design” workbench is very similar to other feature-based modellers. The other workbenches add a lot of extra possibilities, however. It is certainly powerful enough for my private usage. Since it is free software, the price/performance ratio is unbeatable.
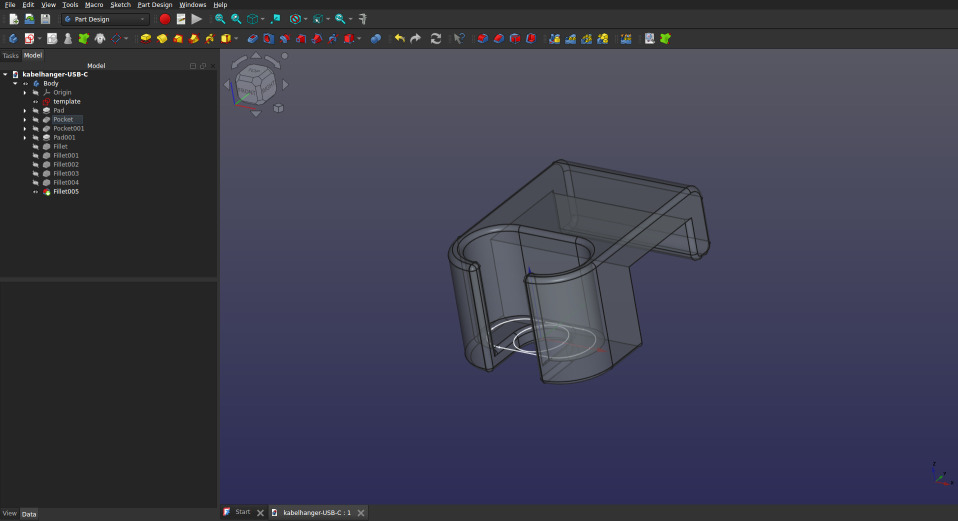
The measured connector dimensions were put in a first sketch, which is named “template” in the image above. This was used as the basis to design around. Half of a millimeter of space was left free around the template. The body was exported as a STEP file, which was imported into PrusaSlicer. For this part, I used 40% infill and three perimeter layers. Apart from those, the standard PrusaSlicer parameters for “Generic PETG” where used and the part was sliced and the G-code exported.
A roll of PETG filament from https://www.123-3d.nl/ was loaded.
A thin layer of PVAC adhesive was spread out over the build plate, since the manual indicated that PETG has a tendency to stick to the build plate.
The print was started and finished successfully in a couple of minutes.
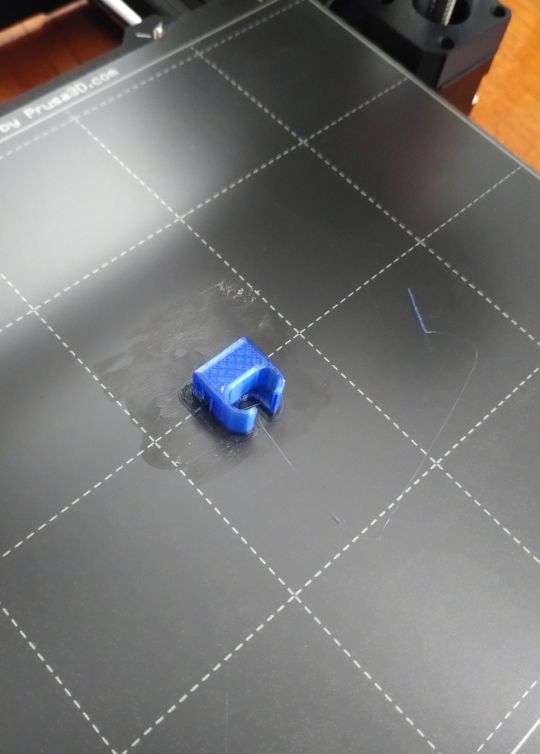
The part was easily removable from the build plate, thanks to the PVAC. After removing the support material, it turned out to fit perfectly.
All in all, I was impressed how smooth the whole process went.
For comments, please send me an e-mail.