Repairing a color laserjet 2550
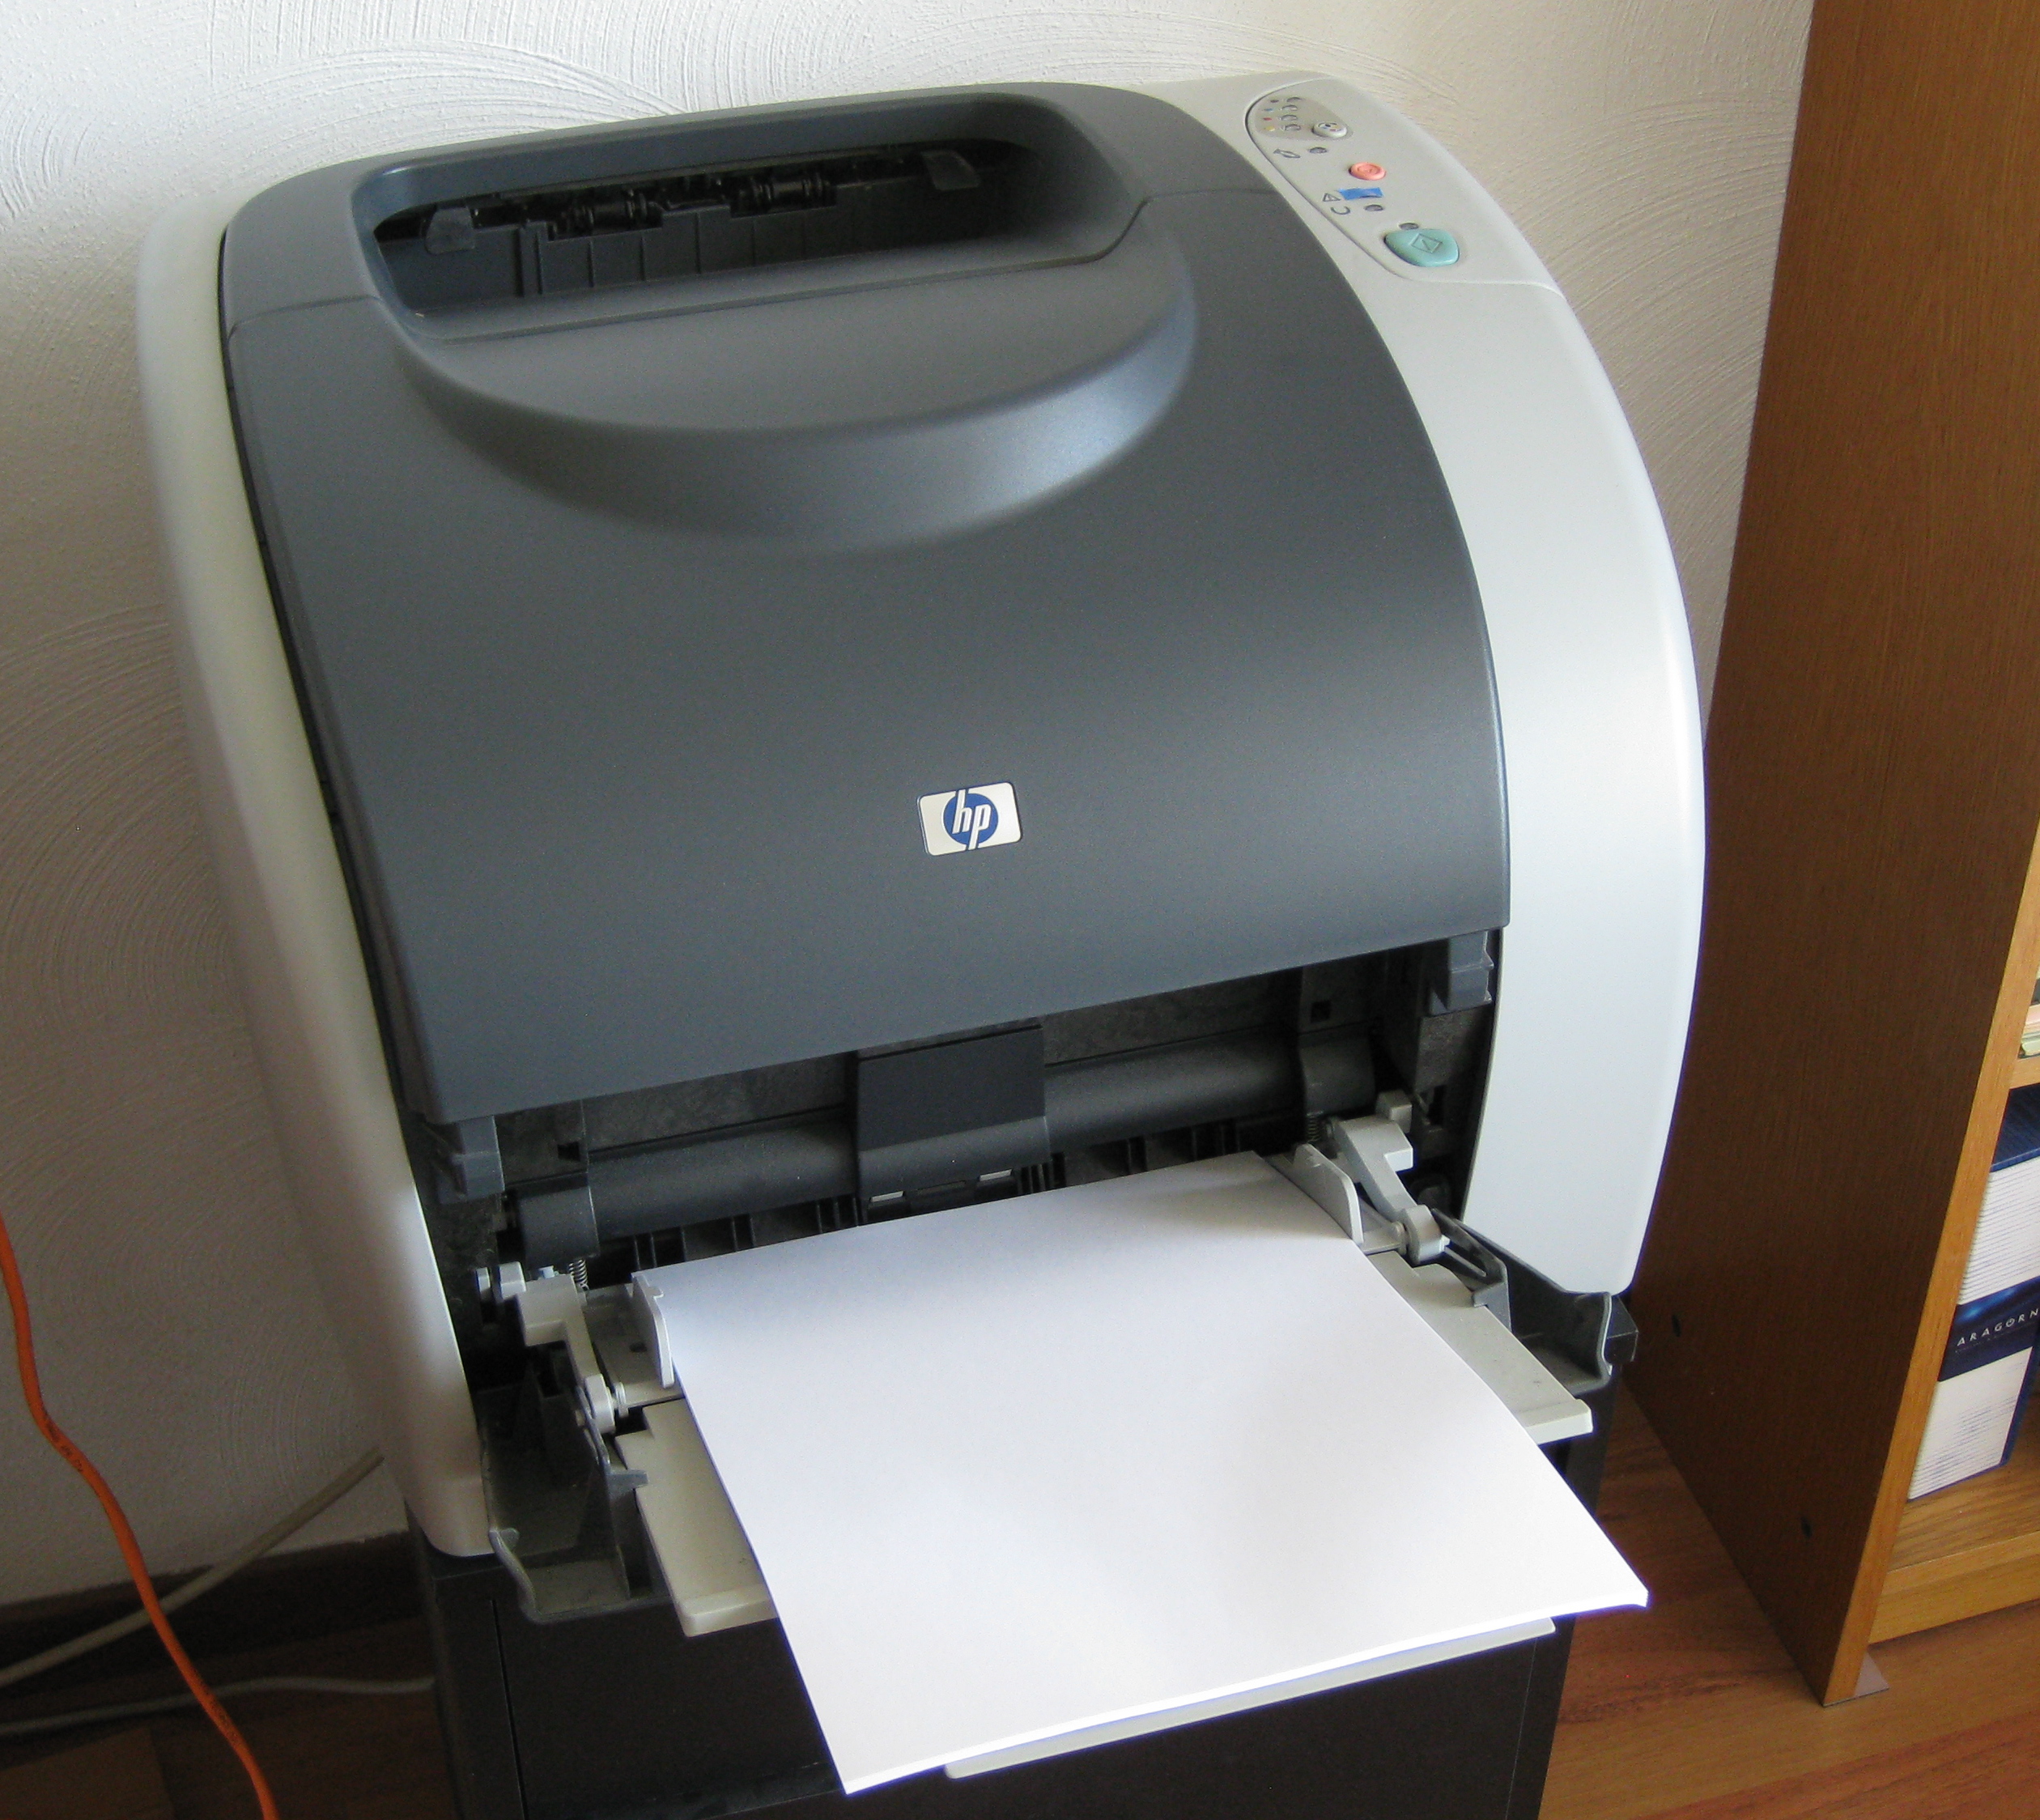
Some time ago, my trusty old color laserjet 2550L more or less stopped printing, or at least I thought so. It turned out that the printer only printed in yellow. Which is not particularly useful.
At the time I bought this printer not because I print very much, but because I wanted it to actually work when I do want to print. At that time, this ruled out inkjets.
Since I also wanted to be able to print color images, and because I wanted the printer to use PostScript as the page description language, I bought this color laserjet 2550L (“CLJ 2550”). It is not particularly fast, it is bulky and it weighs a ton, but it works for me.
Diagnosis
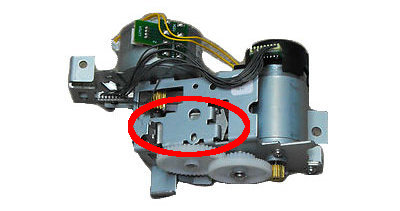
According to a couple of threads on a HP support forum (which sadly seem to have disappeared, but I found confirmation on another forum), the most probable cause was the carousel brake, which is a metal lever that is prevents the carousel from turning. When changing color, it is lifted by an electromagnet (solenoid). It is part of the rotary-drive assembly, which is shown below. The location of the lever is circled in red.
Get the manual
To get to this part the printer needs to be partially disassembled. For this you really need the service manual for the CLJ2550L. It shows you the proper way to disassemble the machine. Just getting the covers off is hard if you don’t know how they’re put on!
Disassembly
In particular, the following parts need to come off just to get to the rotary-drive assembly;
- left and right cover
- interface cover
- formatter cage
- back cover
- top cover
All of these steps are well explained in the service manual.
The first step is to remove the imaging drum and toner cartridges which are shown in the picture below.
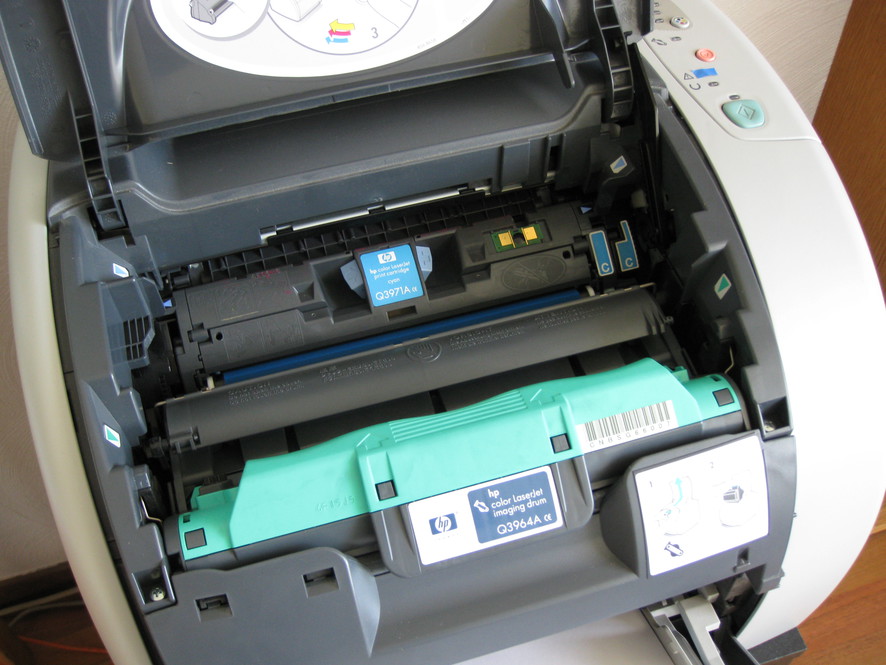
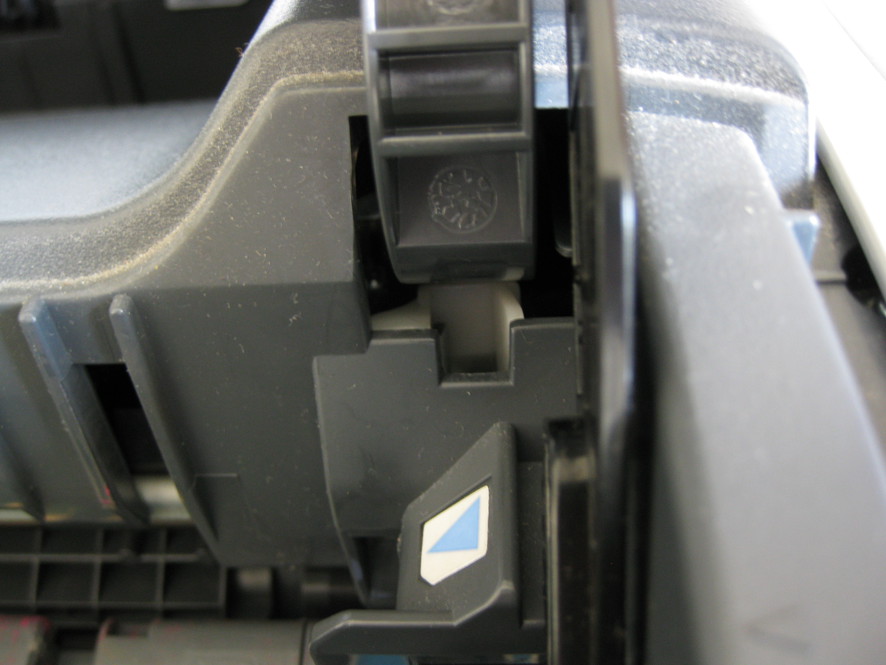
Getting the imaging drum out is straightforward. To get the toner cartridges out you need to be able to rotate the carousel. The easiest way to do this when the power is not connected is to stick e.g. a piece of steel wire or a bent open paper-clip into the hole in the white piece of plastic shown in the picture below. This actually lifts the lever that we are going to fix.
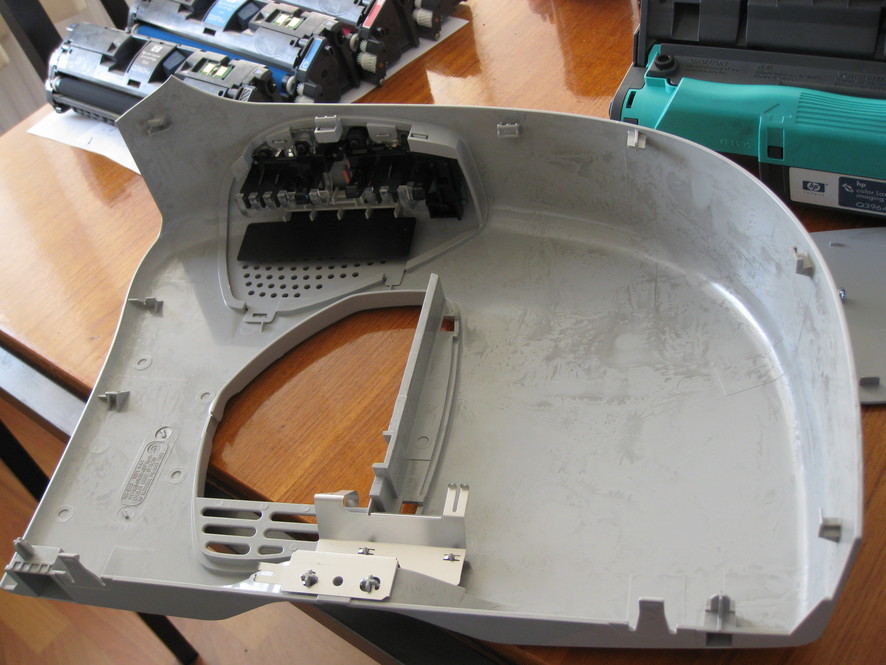
But first the left-, right-, top- and back covers have to come off because otherwise you cannot reach the rotary-drive assembly. Shown below is right side cover (with the control panel). Removing the covers is easy if you follow the service manual. As you can see in the picture, you have to rotate the bottom of the cover away from the printer (after removing the screw under the handles) before pulling the cover up.
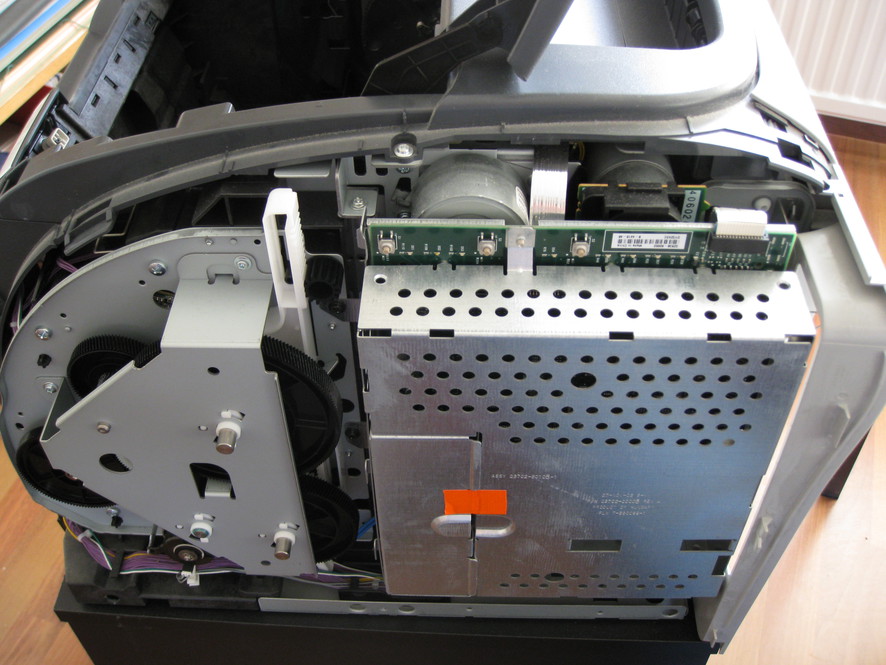
After the right side cover has been removed, the rotary-drive assembly is visible behind the formatter cage (the rectangular sheet metal box with the print plate sticking out of the top). After removing the covers and the formatter cage, the rotary-drive assembly can be taken out after unscrewing a couple of screws and unplugging some cables.
Repair
After removing the top cover plate of the rotary-drive assembly, the electro magnet and lever can be unscrewed and flipped (as shown below) over to access the lever. The magnet is still connected to assembly with a cable, so you cannot take it out completely, but the repair can be done as is.
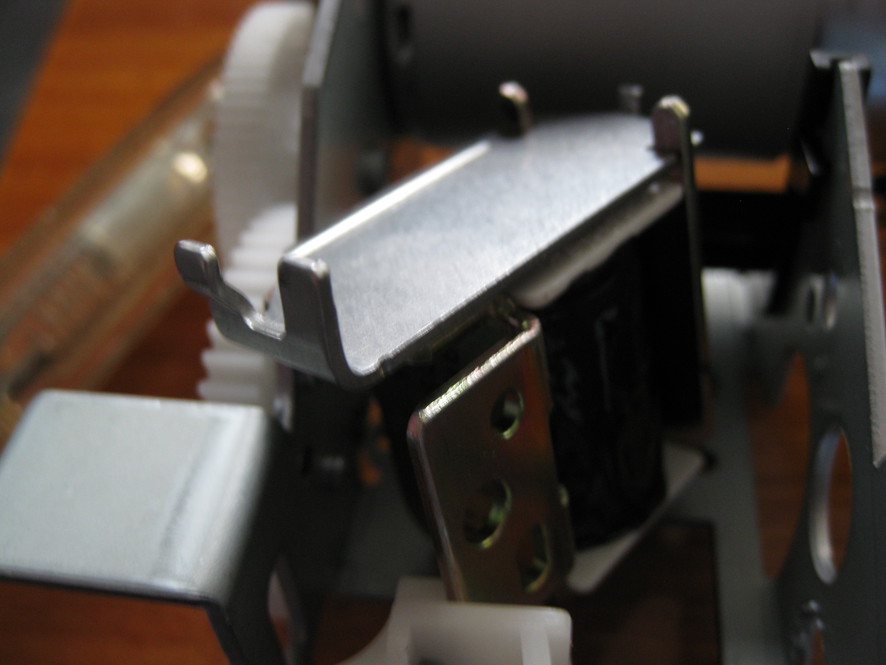
By moving the lever I could feel that it tended to stick to the solenoid. To see why I removed the spring that connected the lever to the solenoid and took off the lever. The felt pad that should catch the lever when the solenoid is activated had deteriorated over time to the point where it was just a sticky mess. In the picture below it has already been partially scraped off.
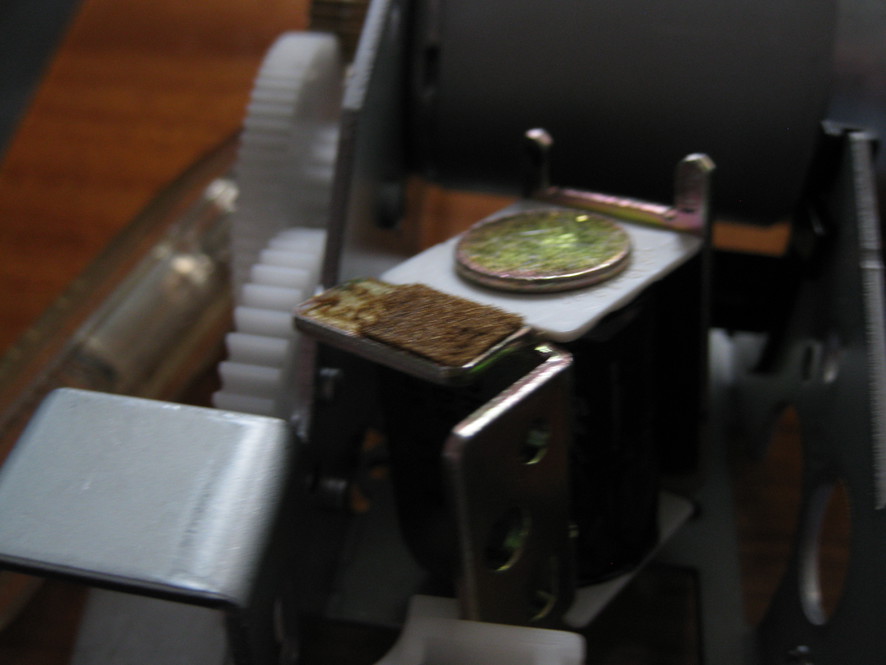
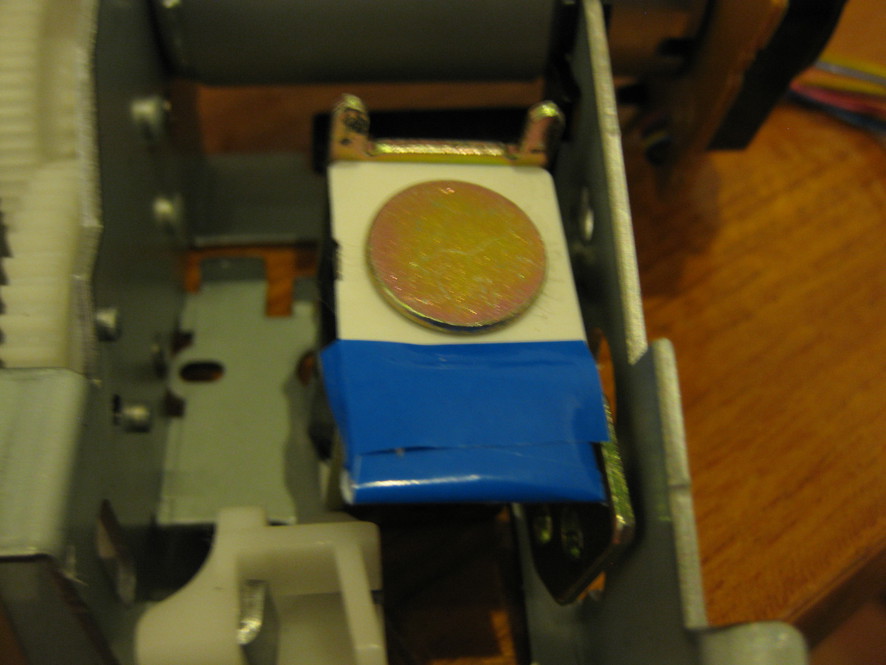
After scraping away the remains of the felt pad and removing all traces of the sticky material from both the solenoid and the lever with some solvent, I put six layers of masking tape on the place where the felt pad was. To make sure it stayed put I over wrapped it with some plastic tape that runs all around the metal tab. I would guess that insulating tape would work fine as well.
Re-assembly
After closing up the rotary-drive assembly, it needs to be re-assembled in the printer. Two of the screws are in the bottom of the rotary-drive assembly cage. Put those in before re-installing the assembly on the inclined plane and to the left of the bundle of purple cables in the middle of the picture below. The flat cable should be folded away, it is supposed to run over the rotary-drive assembly.
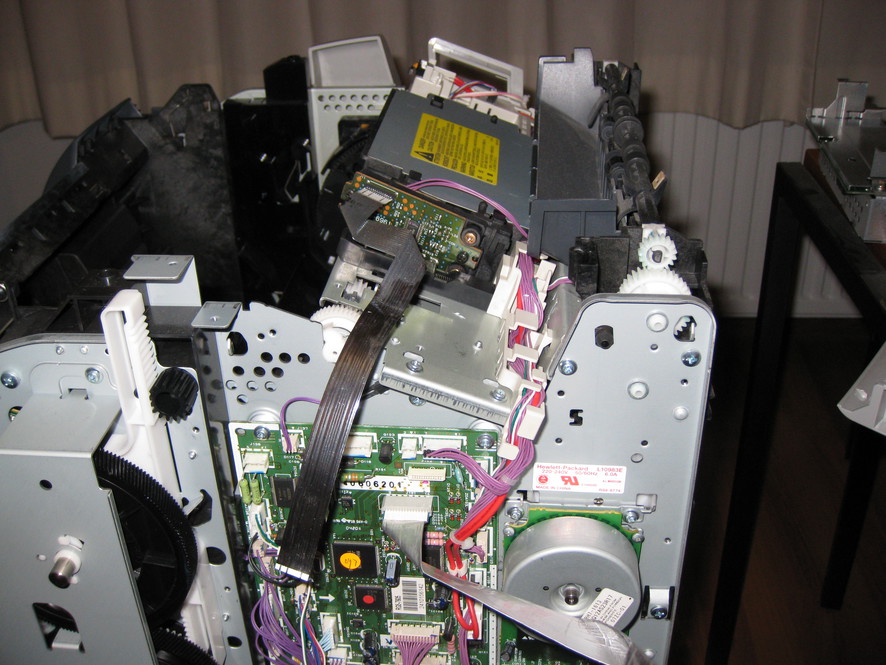
The re-assembly is a reverse of the disassembly. The plastic covers sometimes need a bit of a whack to snap into place. After re-assembly, plug the printer in and print a test page.
Repair complete
In my case it worked beautifully as can be seen from the test page in the picture below. So it was time for a cold celebration beer!

For comments, please send me an e-mail.