Using a scanner for macro photography
Although you wouldn’t guess it from the contents of this blog, my day job involves the design and production of products from fiber reinforced composites. A lot of my projects fall under non-disclosure agreements, so I cannot discuss them here.
What I can do is share some of the methods I’ve developed over the years. One of those is using a desktop scanner to make close-ups.
Sometimes I want to look closely at a composite laminate. For instance to measure fiber volume content or to check for voids.
To do that I place a piece of laminate or a cross-section on my desktop scanner and take a picture of it at the highest resolution that the scanner supports. My scanner has a maximum hardware resolution of 1600 pixels per inch, which it interpolates to 3200 pixels per inch. That translates to 126 pixels per mm. So the smallest details we can possibly see are in the order of 0.008 mm.
Cross section
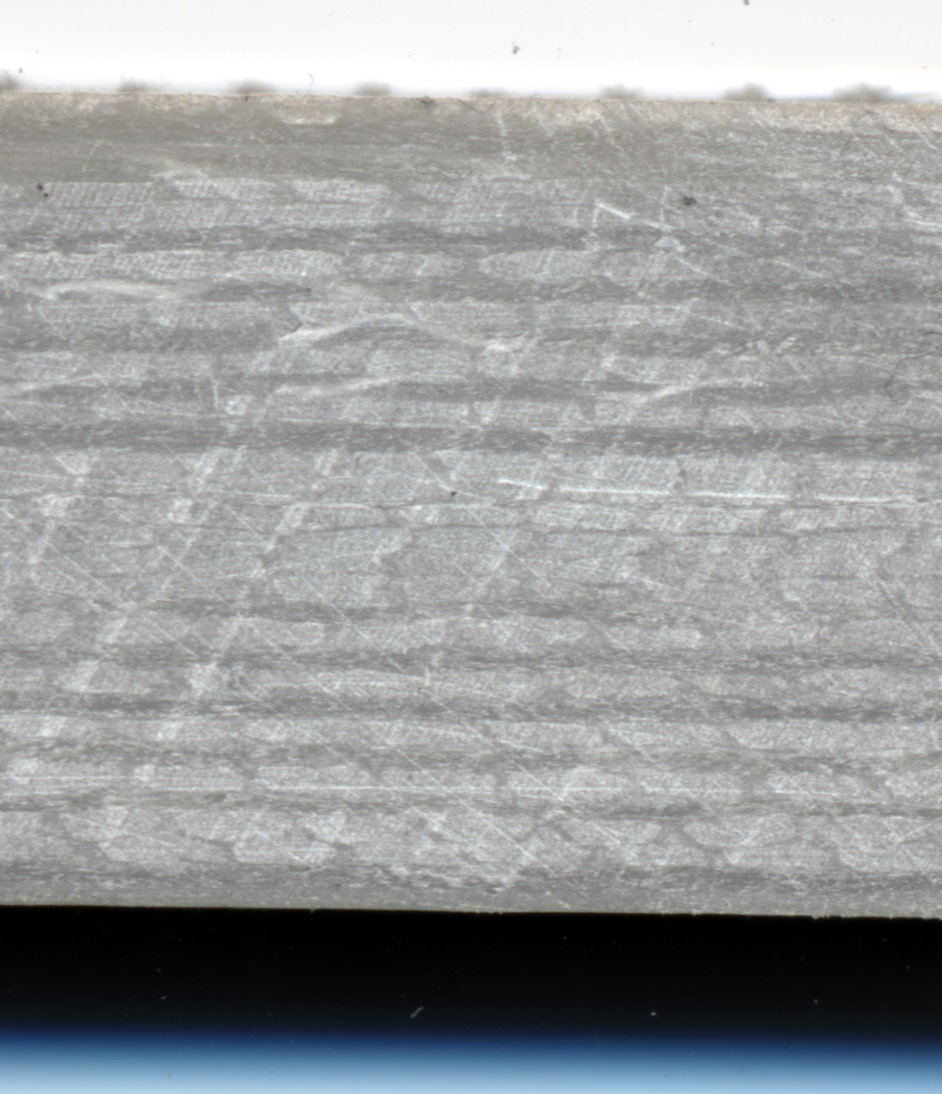
Below is an image of a scan of the cross-section of a fiberglass and vinylester laminate. This picture has been reduced to 40% of its original size but you can still see the individual fiber bundles in the layers that make up the laminate. This laminate is around 16 mm thick. The gray colour comes from a pigment that was added to the resin. The black and blue shade on the bottom of the image is an artefact of the scanning process. This laminate is well saturated with resin and has no obvious voids. The diagonal lines running from bottom left to right top are marks left by the sawing of the sample.

Surface scan
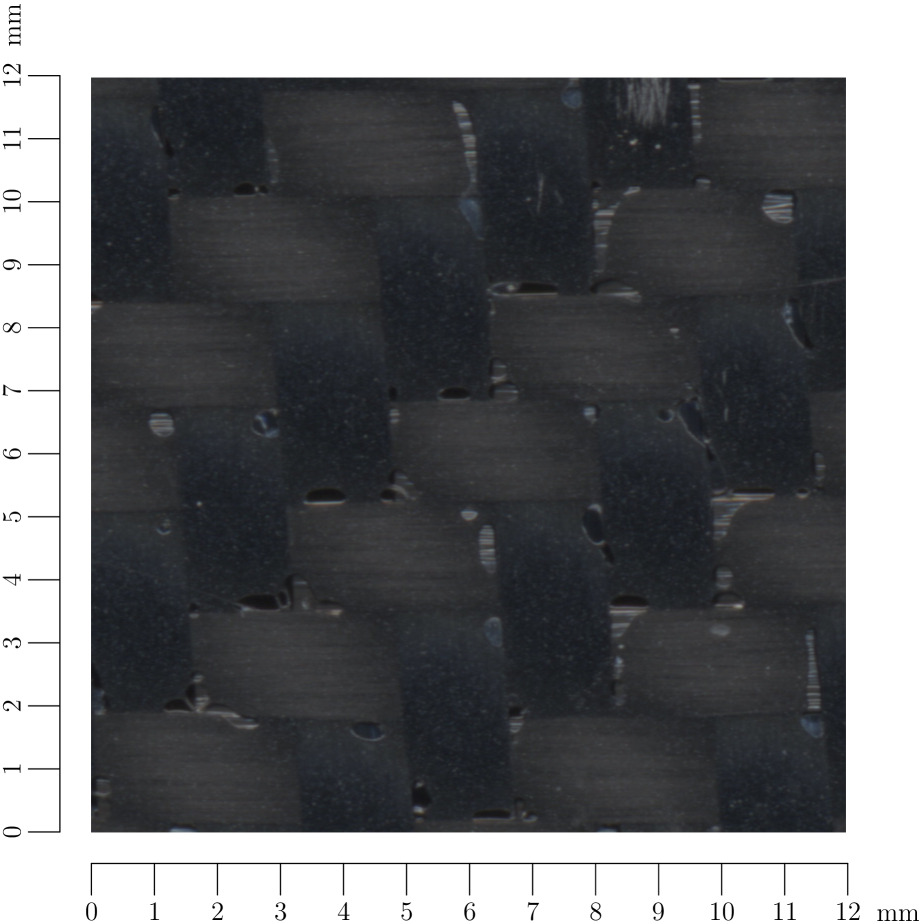
The second scan is a picture of the surface of a laminate pressed from a carbon fiber twill weave prepreg. The scales on the bottom and left indicate the sizes of features. Where the woven fiber bundles intersect there are numerous voids on the surface. In the voids one can clearly see fiber bundles. In this case not enough pressure was used to properly consolidate the laminate.

For comments, please send me an e-mail.