Making a composite plug or mould
For the bus rear floor we initially made a prototype mould. This was done because of time constraints and because we weren’t sure that there wouldn’t be changes to the design.
Now that the design is frozen it is time to make a fiberglass mould. This is done by making a fiberglass copy of the mould which is called a plug, and then make a fiberglass copy of that plug. The process is identical for both
A special tooling system (technical information) that doesn’t exhibit shrinkage is used to make plugs and moulds. Neat polyesters shrink about 8% by volume when they cure, but in laminates this depends on the amount of fibers used, the fiber orientation and layer thickness. Trying to compensate your model for that is always a bit of a gamble. Luckily special mould building resins have been developed that do not shrink when applied properly.
Before laminating the plug or mould the original model is covered with several layers of wax, to make sure the whole surface is covered. This wax is buffed to a high gloss. The advantage of using wax as a release agent is that it also fills and evens out any pores in the surface of the model.
Then we spray on a special tooling gelcoat. This forms the surface of the mould or plug. For moulds usually a vinylester is used because of its enhanced resistance against solvents like styrene.
Behind the gelcoat a surfacing veil is hand laminated with a vinylester resin to give the mould extra chemical resistance and to support the gelcoat in sharp corners.
Note
A word about hand laminating safety. Polyester and vinylester resins generally contain styrene which acts as both a solvent and partakes in the hardening reaction. Styrene can be dangerous, so you should limit your exposure. It is therefore important to use proper protection equipment. A face mask with organic vapour (activated carbon) filter cartridges is a must. Safety goggles and buytl rubber gloves are also necessary. The thin latex or nitrile rubber laboratory gloves are not sufficient. Styrene can penetrate those in a matter of minutes.
Next is the first of the tooling system itself. This is actually six layers of 300 g/m² chopped strand mat, hand laminated wet-on-wet. This is done to give the tooling system enough exotherm to activate the anti-shrink additives. We do patches of about 1/2 m² at a time because this resin has a limited potlife. The whole mould should be covered in a single day.
The next day, a second layer consisting of four layers 450 g/m² chopped strand mat is hand laminated wet-in-wet. Again this should be completed within a day.
The next day wedges are used to pry the mould or plug off its model. Below is the plug, after it has been taken off the mold and the edges have been trimmed.
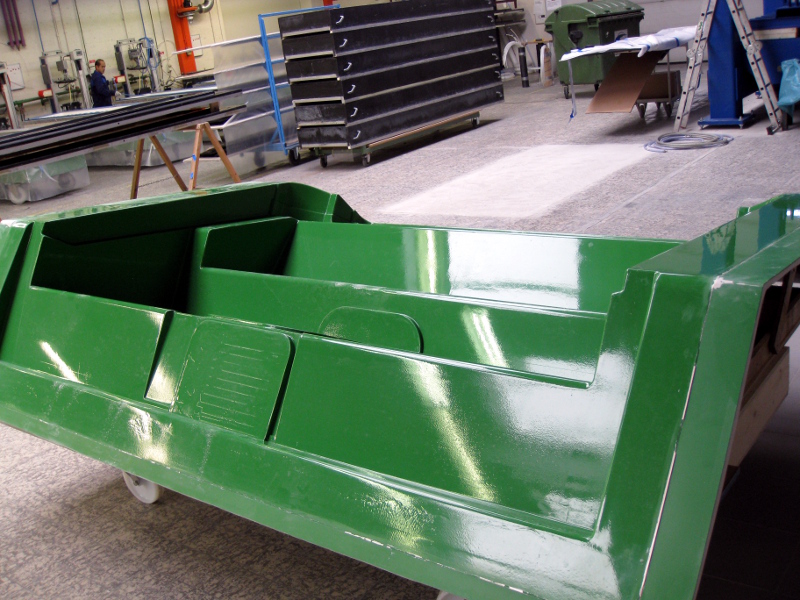
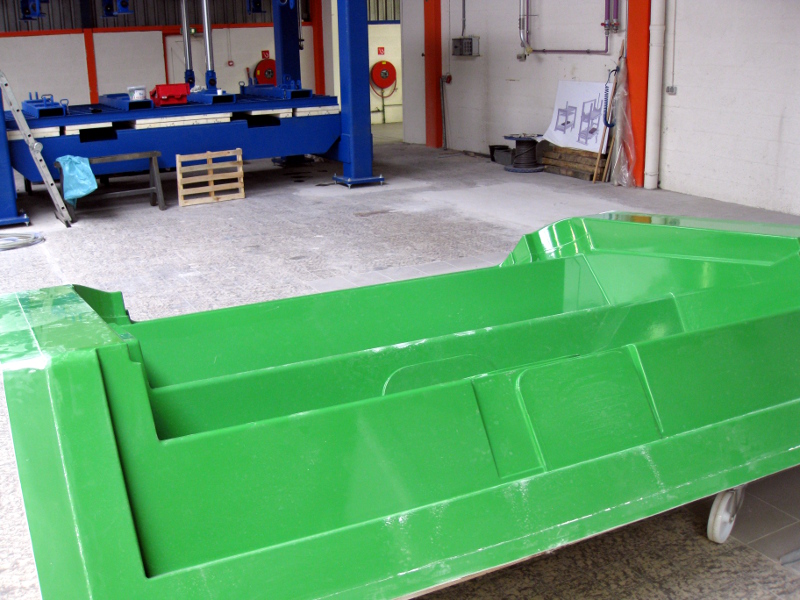
It might not look like it on the pictures, but the surface area of this plug is around 12 m². It took six people to lift it off its model. The laminate is around 10 mm thick, and very sturdy.
For comments, please send me an e-mail.