Kitchen scale repair
After a couple of decades of use, the pointer on my Hema analog kitchen scale broke. This model is long out of production, and analog scales of this weight class (500 g) are kind of rare.
Since I have a preference for equipment that doesn’t require batteries I wanted to repair it. This article documents how that was done.
To be honest, if I didn’t have a 3D printer this repair might not have happened. The pointer is a small and delicate injection molded part with a wall thickness in the order of 0.5 mm.
While I did not take pictures of if, I took the top of the scale off to get the broken parts out and measure some dimensions. This is relatively easy off since it is only held in place with snap fits. Most of the parts are injection molded from polystyrene. The rack and pinion mechanism that drives the pointer looks like they’re made from nylon. And there are a couple of steel parts, including the spring.
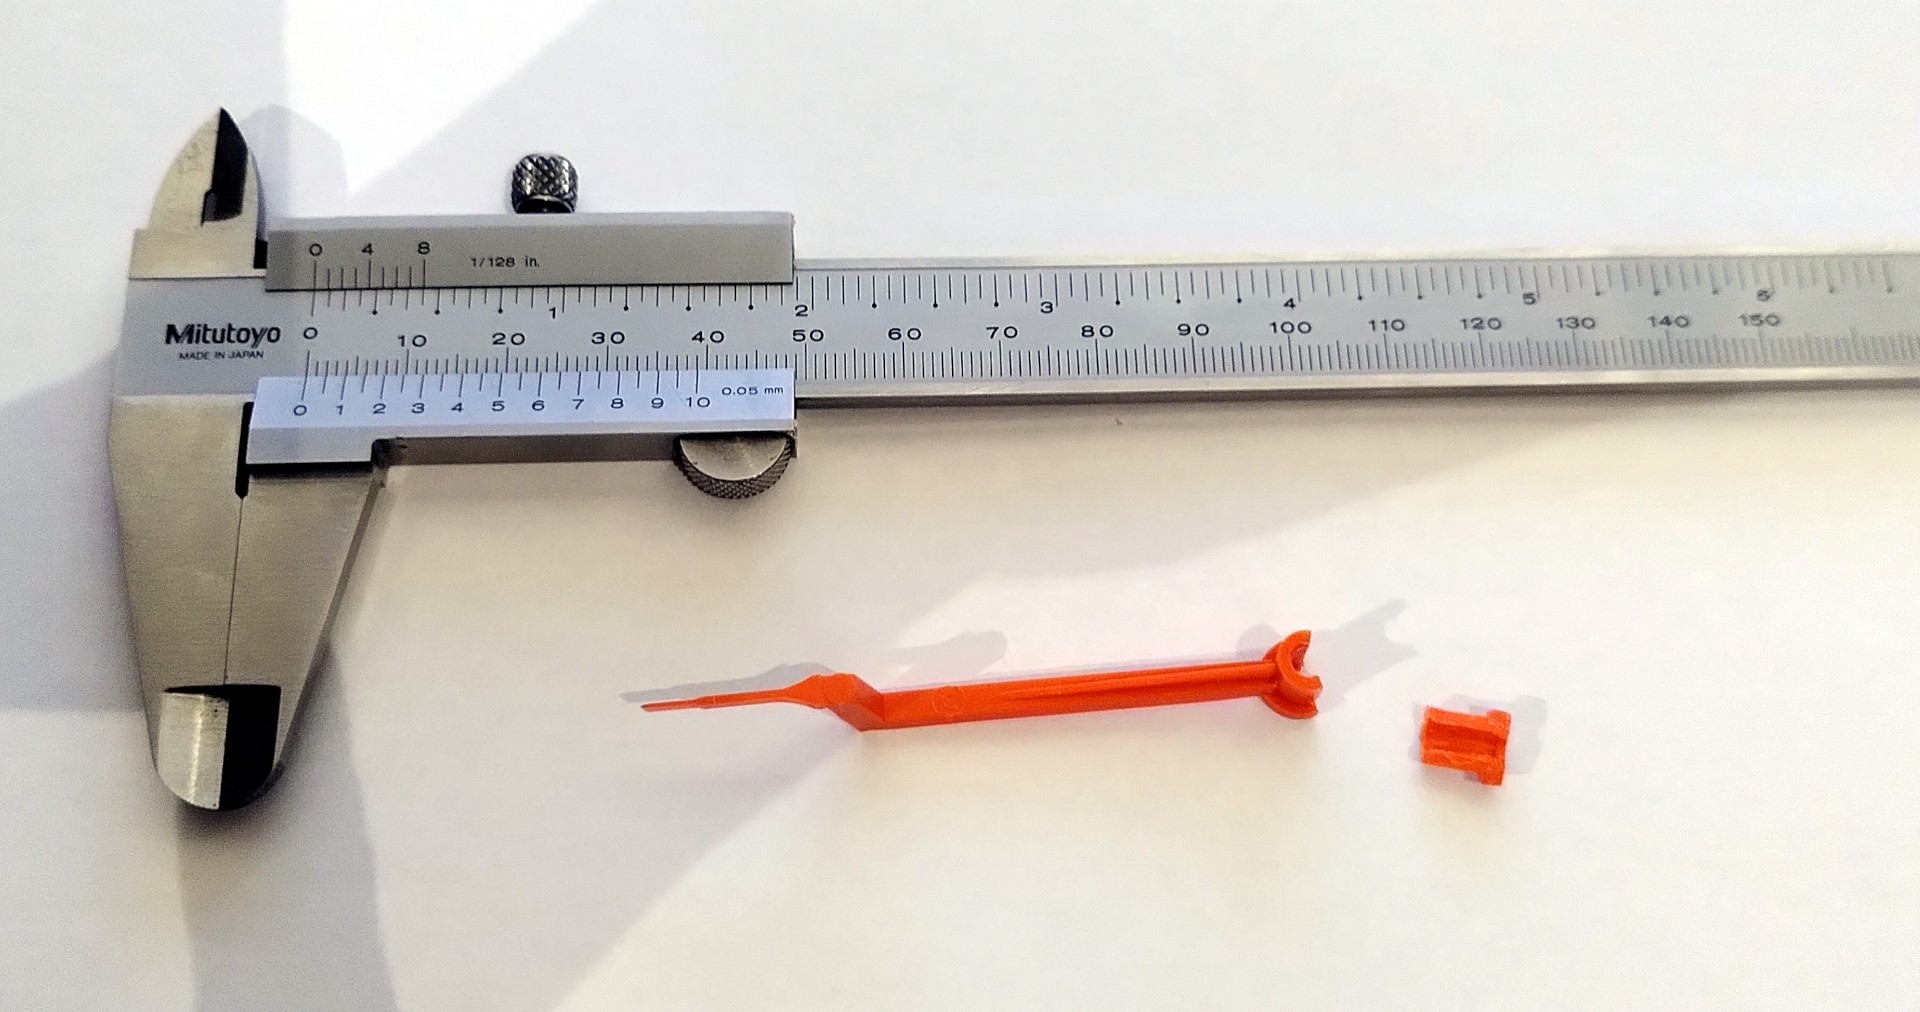
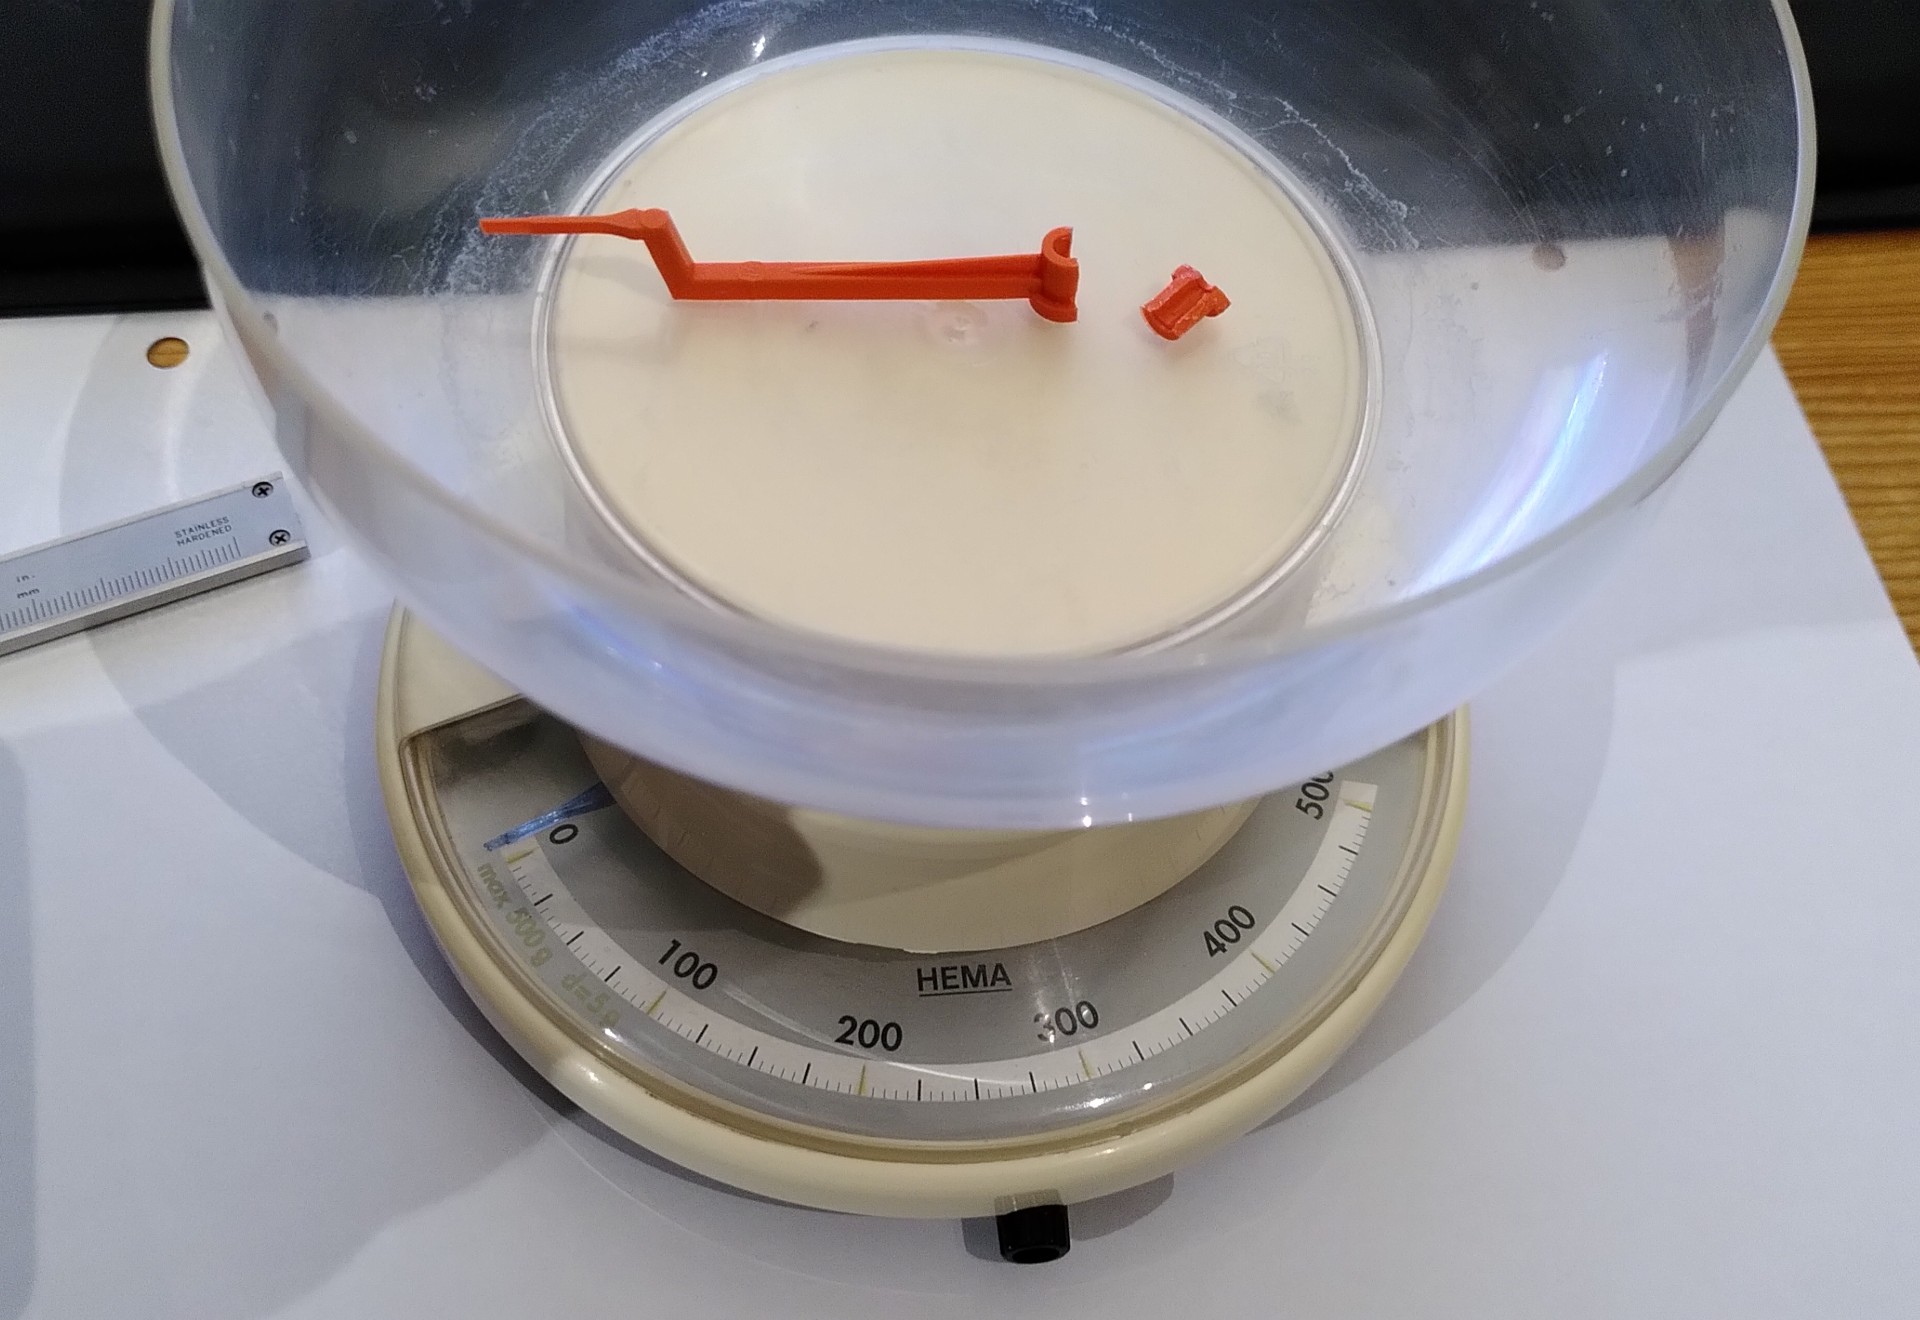
Here is the pointer with my Vernier caliper for scale. The original pointer is partly hollow. Making the injection mold must have been an interesting challenge.
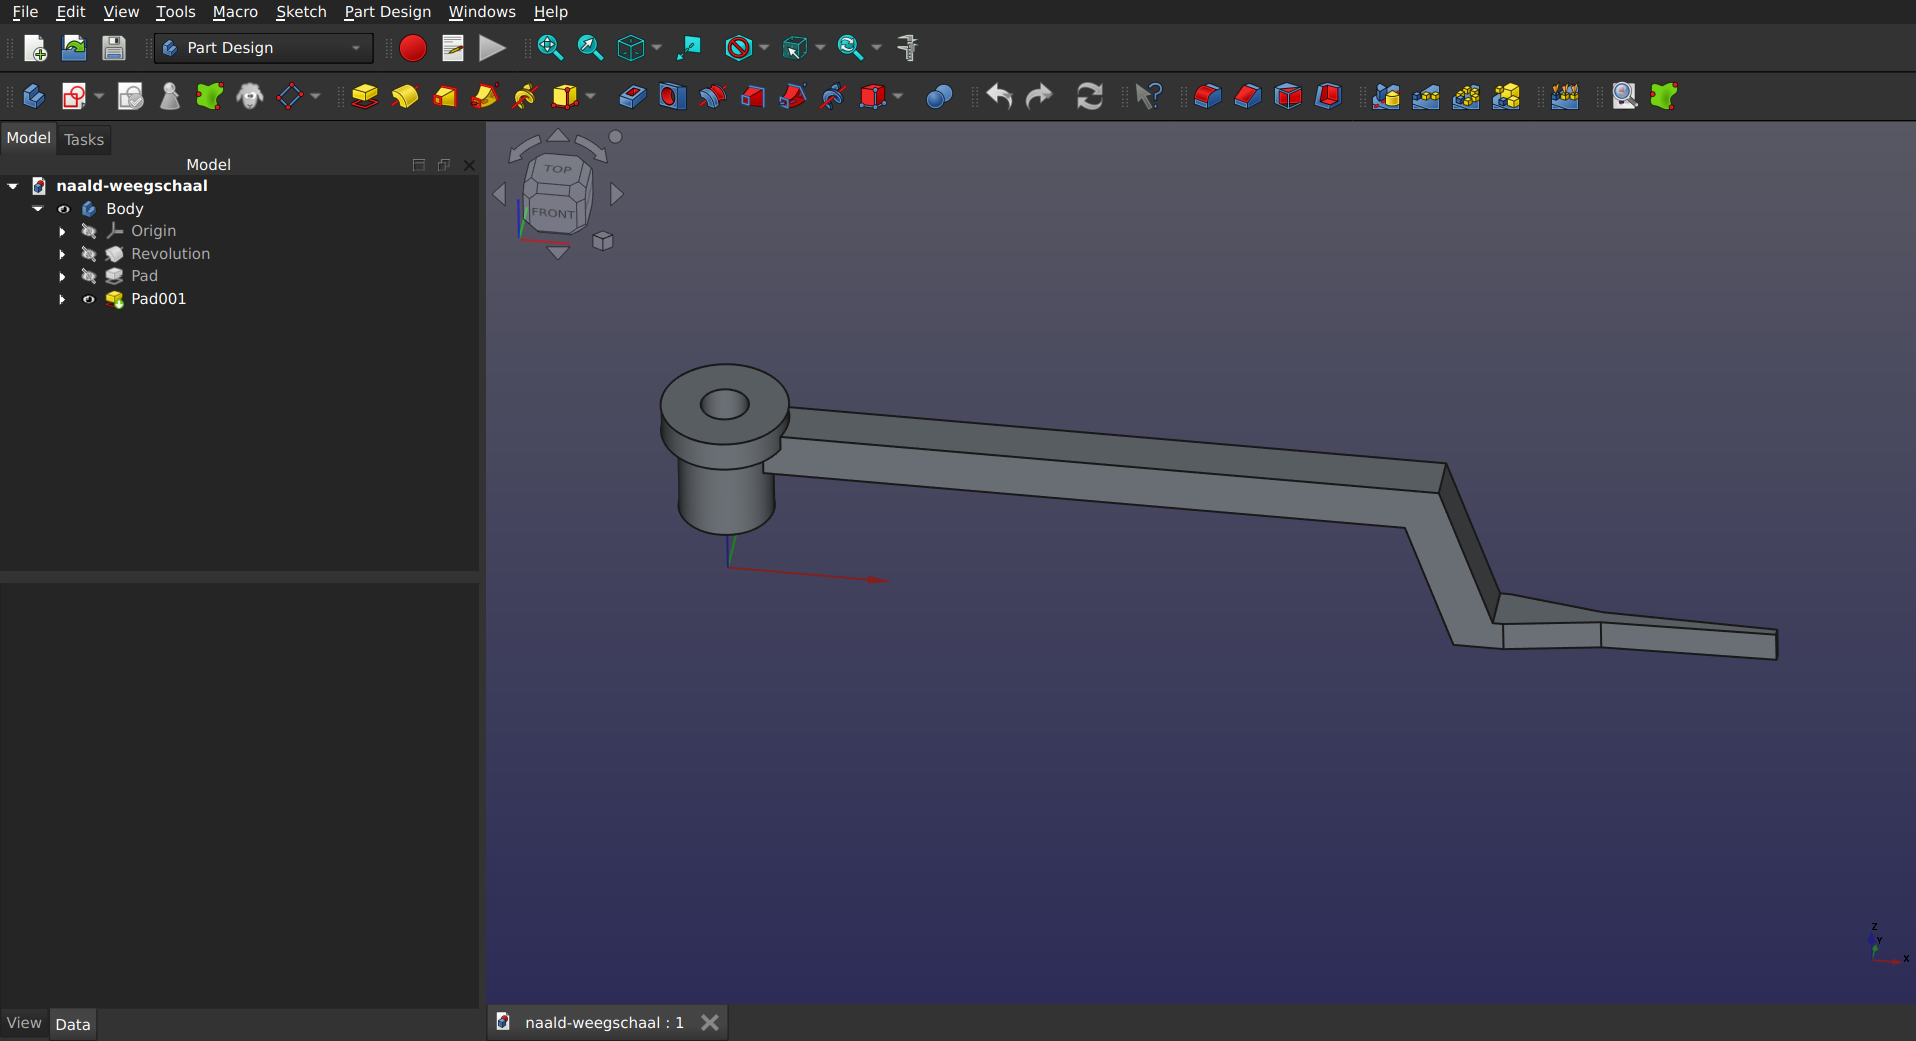
Using my Vernier caliper for measurements, I recreated the pointer in FreeCAD 1.0, and exported it as a STEP file.
The mounting hole was modelled at the nominal dimension, since I know that holes tend to become slightly smaller when printed. This should create a nice tight fit on the shaft.
The STEP file was imported in PrusaSlicer.
The part is relatively small, so it requires printing with a brim to generate enough adhesion to the bed. It also needs supports. And still the amount of material used is very small, less than 2 g.
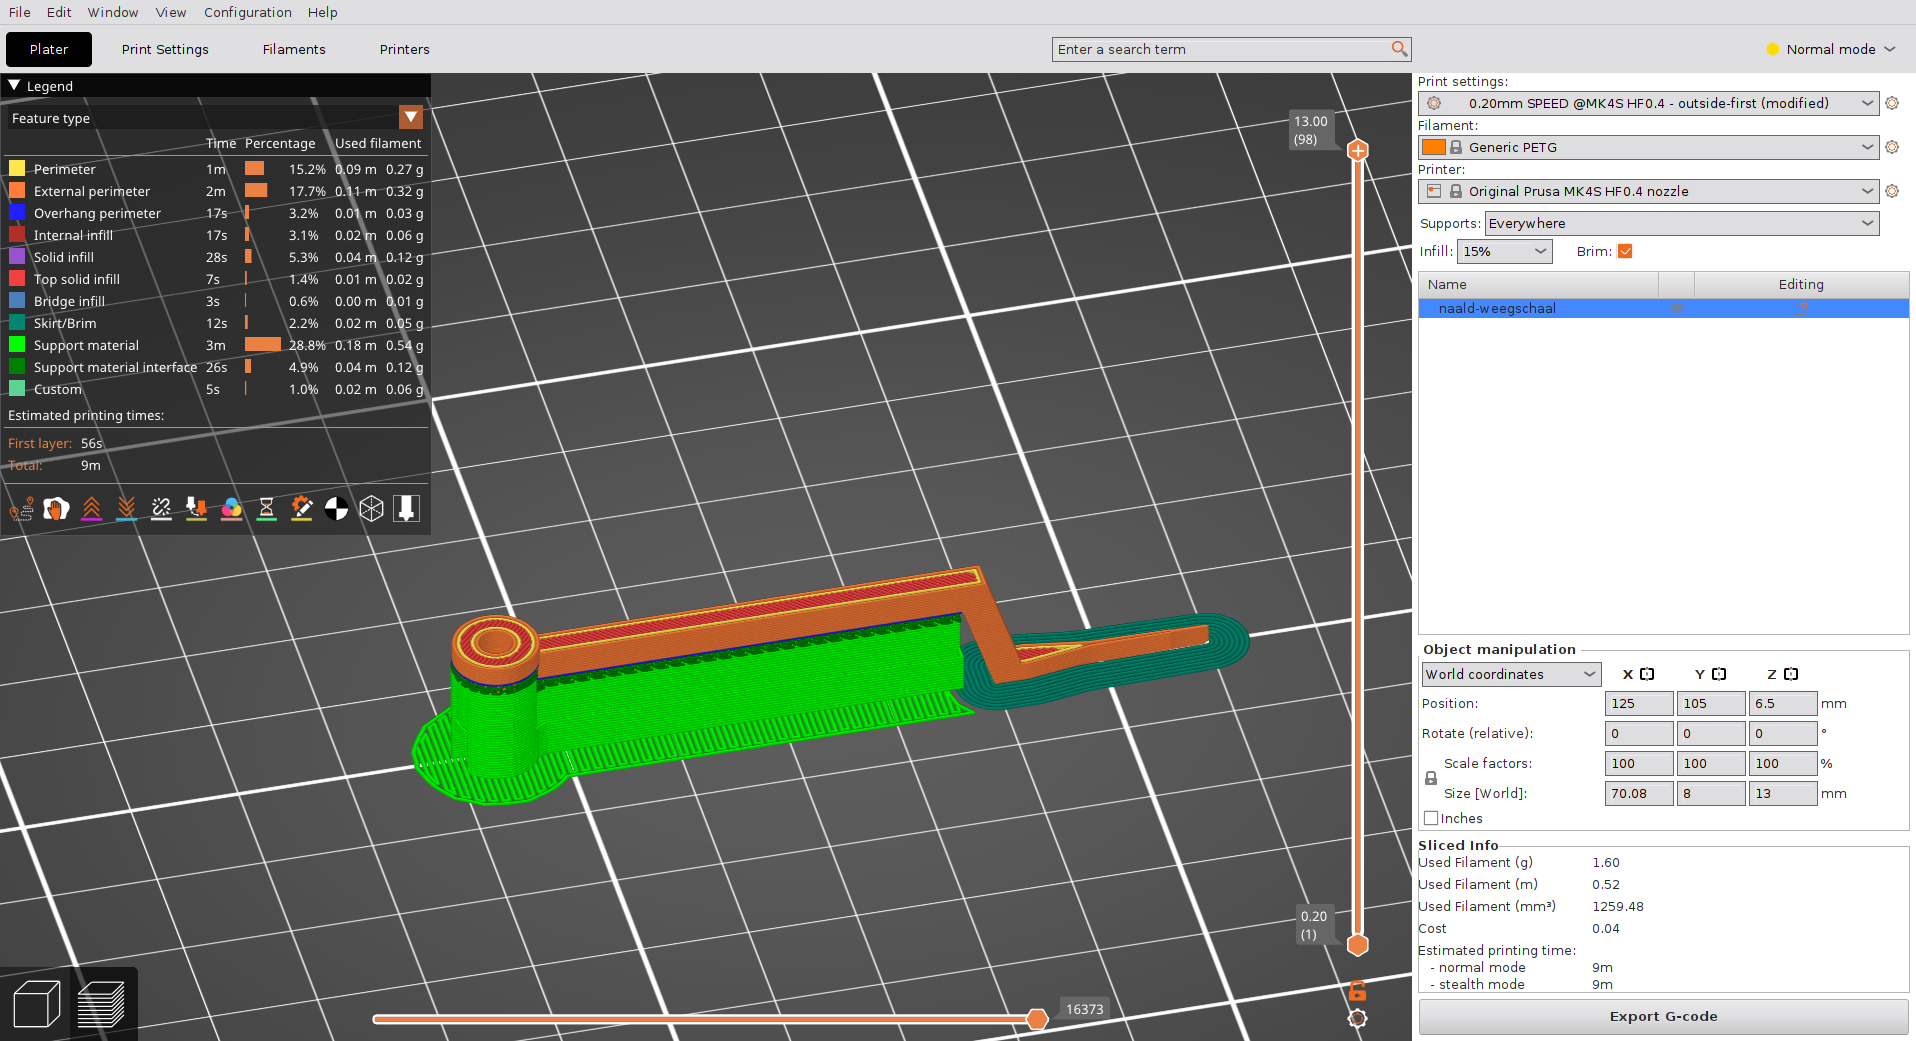
The thin and fragile end of the pointer was situated on the print bed so it would not deform or break.
Printing worked fine, and with a bit of pressure, the pointer fit nicely over the shaft that drives it. Since I had the scale apart I took the opportunity to clean the translucent part over the pointer thoroughly.
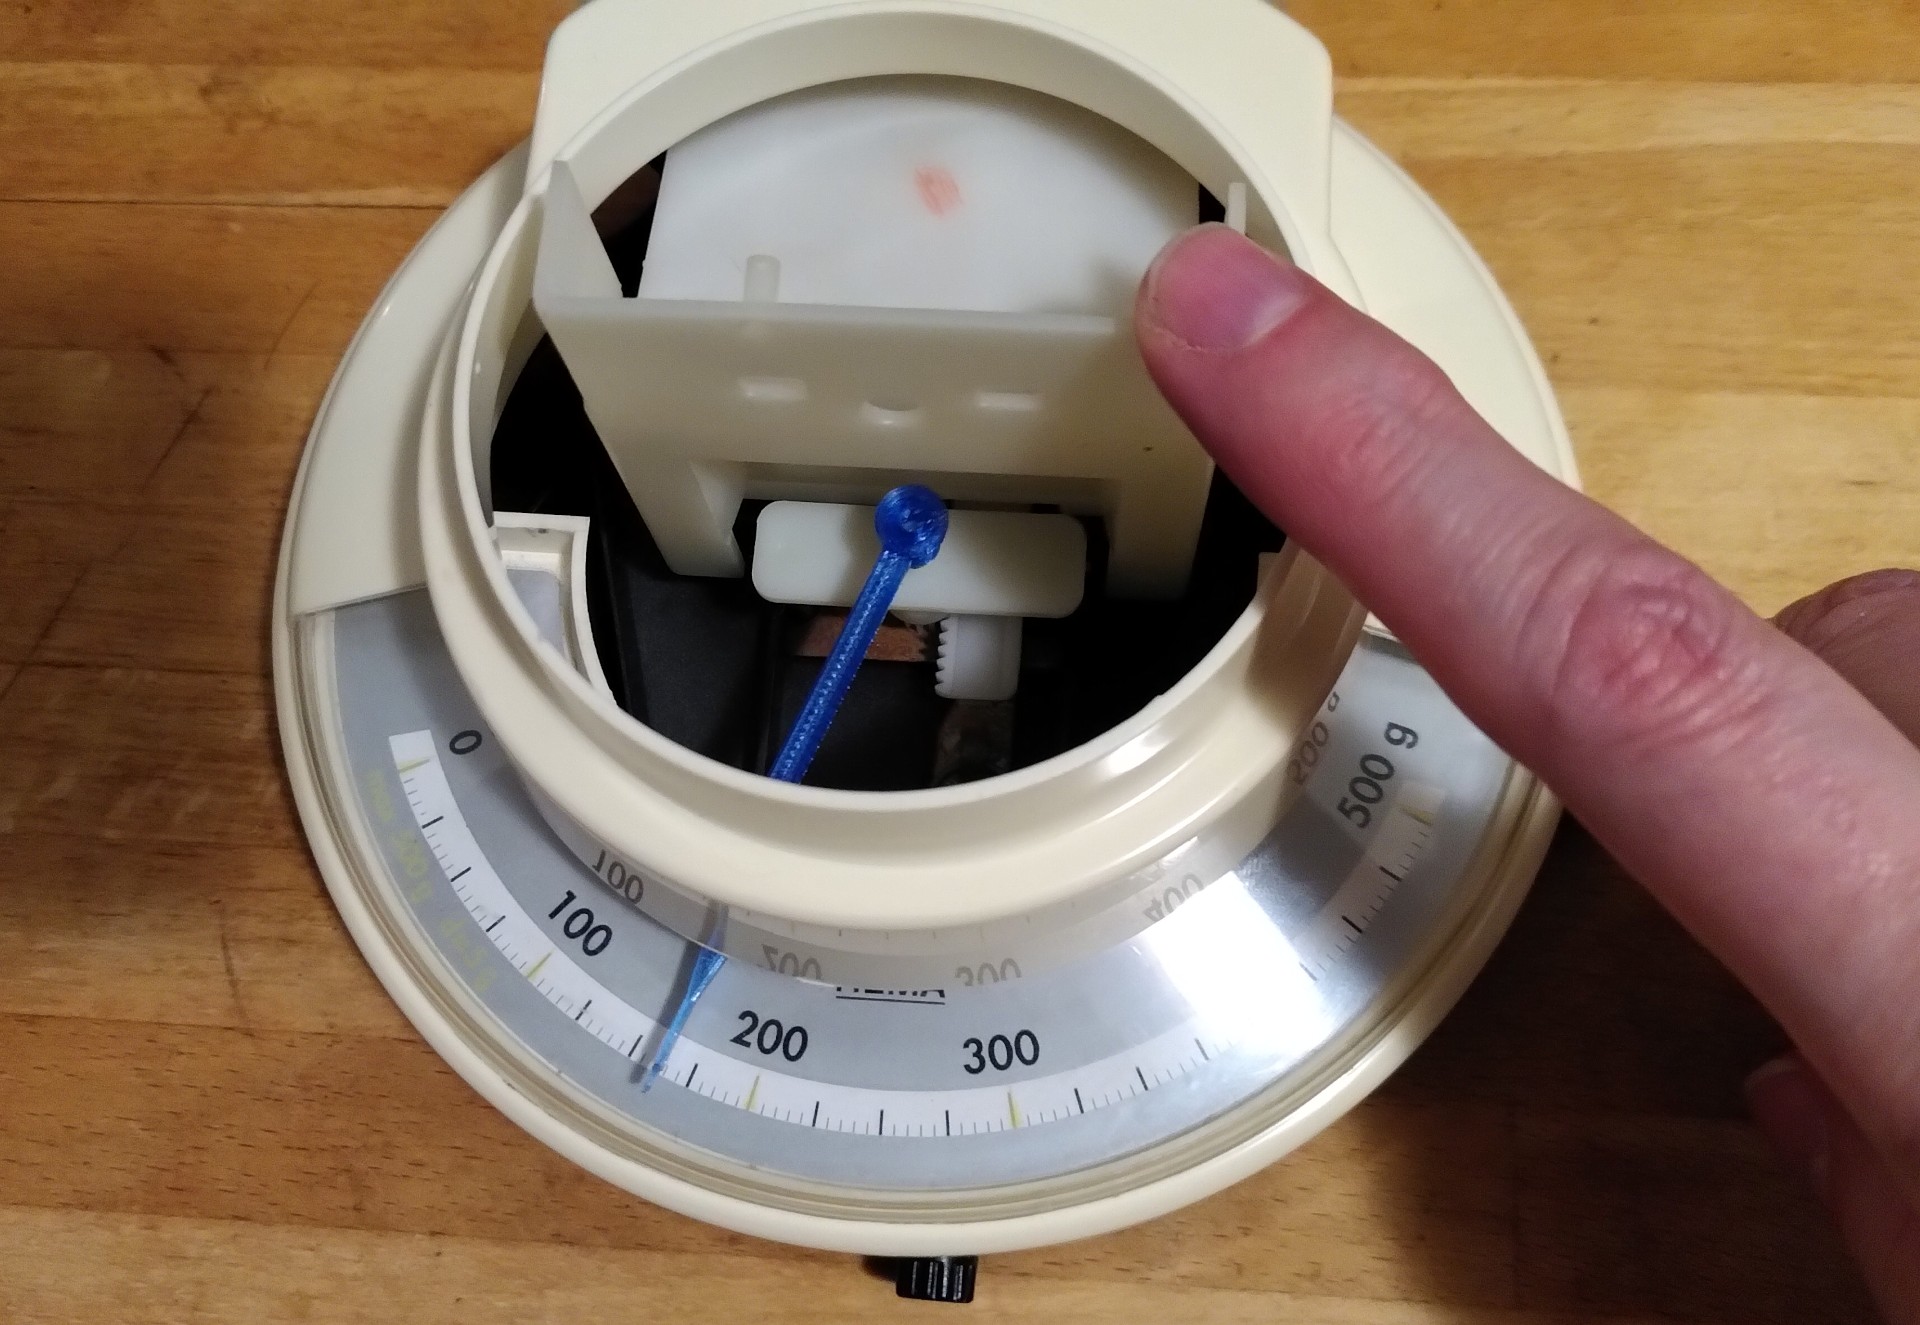
The pointer was printed in translucent blue PETG, since I don’t have any orange material handy. It looks and works fine in blue.
After reassembly, only the color of the pointer indicates that it has been repaired.
For comments, please send me an e-mail.