Repairing a USB flash drive
Recently, one of my USB flash drives, a Kingston DataTraveller 100 G3, stopped working. It didn’t register at all in whatever PC I tried it in. So in this article, I will attempt to repair it.
Disassembly
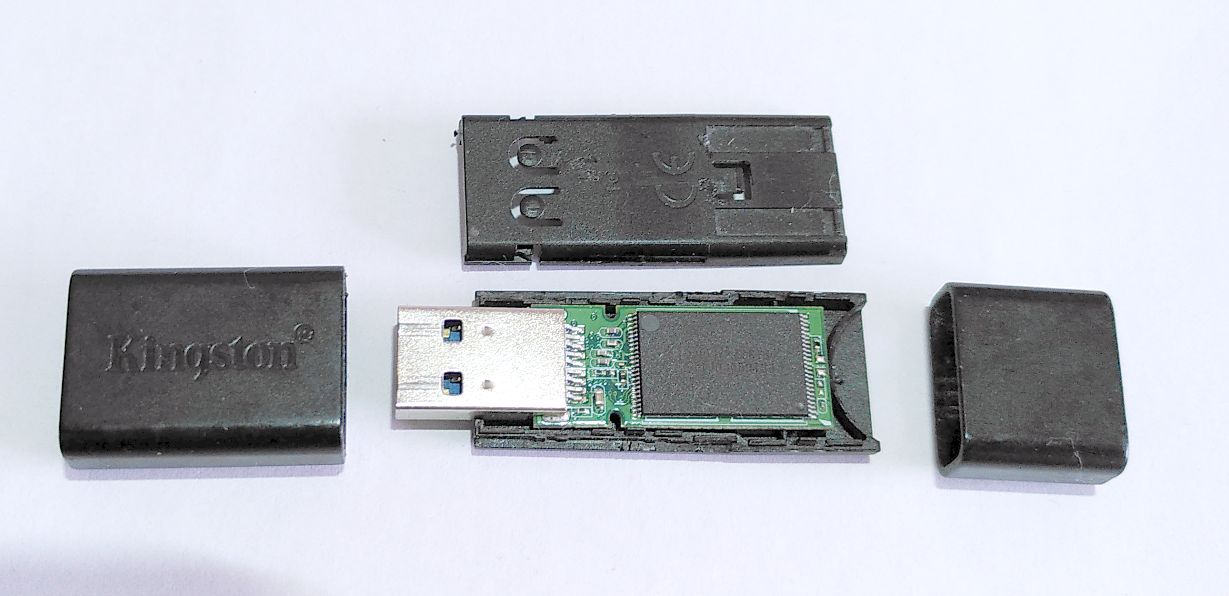
The plastic shell consists of four pieces as shown below. The outer parts can be pulled off relatively easily. After that, the inner shell can be split in two, revealing the circuit board.

Repair
All the parts were quite cruddy. So I cleaned the plastic parts and the circuit board with a cotton swab and some denatured alcohol.
In cases like this, the soldered joints between the metal USB connector and the ciruit board is generally the first suspect. Especially since the connector appeared to be slightly out of line with the rest of the drive and the circuit board.
So using a soldering iron with a fine tip (Ersa i-con pico) I re-flowed the solder on all the joints between the USB connector and the board one by one. Even the mechanical joints at the sides. Since the spacing of the joints is very small and I don’t have a strong magnifier, I didn’t add more solder for fear of creating a short.
Afterwards, I used my Epson flatbed scanner to take an image of the reflowed connections as shown below.

The sharpness of this image leaves a bit to be desired. The joints are probably out of the focus range of the flatbed scanner. The connectors were not completely centered on the pads. But the joints seem OK.
Since the connector is also pretty loose when you plug it in, I used pliers to crimp the connector a little thinner. That has improved the fit; it’s sloppy anymore.
For good measure I also tried to clean the inside of the connector with a folded pice of toilet paper and some denatured ethanol as best I could. Since the paper came out clean the connector did not seem to be very dirty.
Result
The repair was succesful. The flash drive works again. Another (small) piece saved from the scrap heap for now.
For comments, please send me an e-mail.